This is part three of a series of posts about the photos I had published in Wavelength magazine, the first two parts dealt with shooting from land and water, this one shows you how I processed the best of my three shots that made it to print.
Published: Wavelength Issue 237 – Part 1
Published Wavelength Issue 237 – Part 2 – Composing a Water Shot
How I Go About Processing Surf Photos in Lightroom
I use Adobe Lightroom to process all my surf photos, I very occasionally do some work in Adobe Photoshop when it’s necessary to composite more than one image (like creating a one shot sequence). It acts as my digital asset management software as well as taking care of processing for all the photos I shoot.
There are many many tutorials on how to use Lightroom, so I wont take up your time explaining how to import photos or organise them so you can find them easily, just know that I currently have 111,518 photos in my library and I found this shot in about 10 seconds, that’s including the time it took to open up the app.
I’d recommend watching in 1080p full screen if possible so you can get a better look at the sliders and settings.
You can download the Lightroom preset I created in the video here: Right Click and Save As To Download
If you have never installed a Lightroom preset before it’s pretty straightforward, but it does vary between versions and platforms, so I recommend googling for some up to date instructions for your set-up.
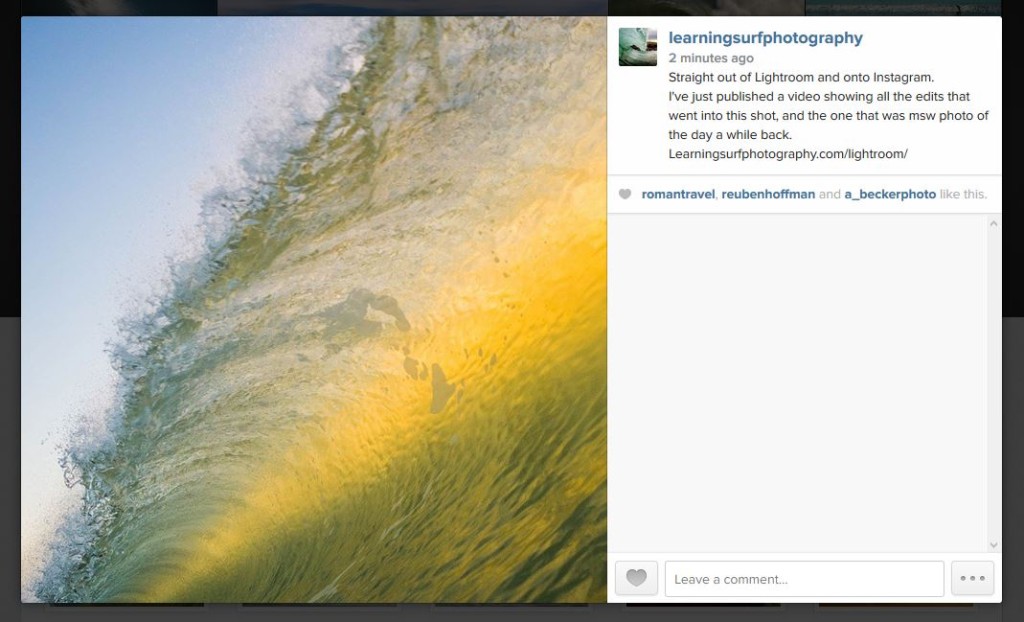
Here’s the photo I processed at the end of the video on Instagram:
And here’s the before and after of the photo I had printed:

Try Processing Surf Photos in Lightroom Yourself
Hopefully this gives you a glimpse at the power and intuitive nature of processing photos in Lightroom, none of the original files are affected either so you can easily retrieve the unedited versions, make virtual copies to try out different styles and export them to any size or format.
Adobe Lightroom should be part of your workflow, if you haven’t already got a copy I urge you to buy one, if you use this link through Amazon I’ll get a small commission and you will pay the same.
There is a free month trial available through Adobe too, so there’s no excuse not to try it out, it’s the one piece of photo related software I use every day.

Leave a Reply